Discover Creative Friday over at Natural Suburbia where you can share a crafty tutorial old or new. I decided to link up on Creative Friday with my tutorial for my knitted and felted mini bag.
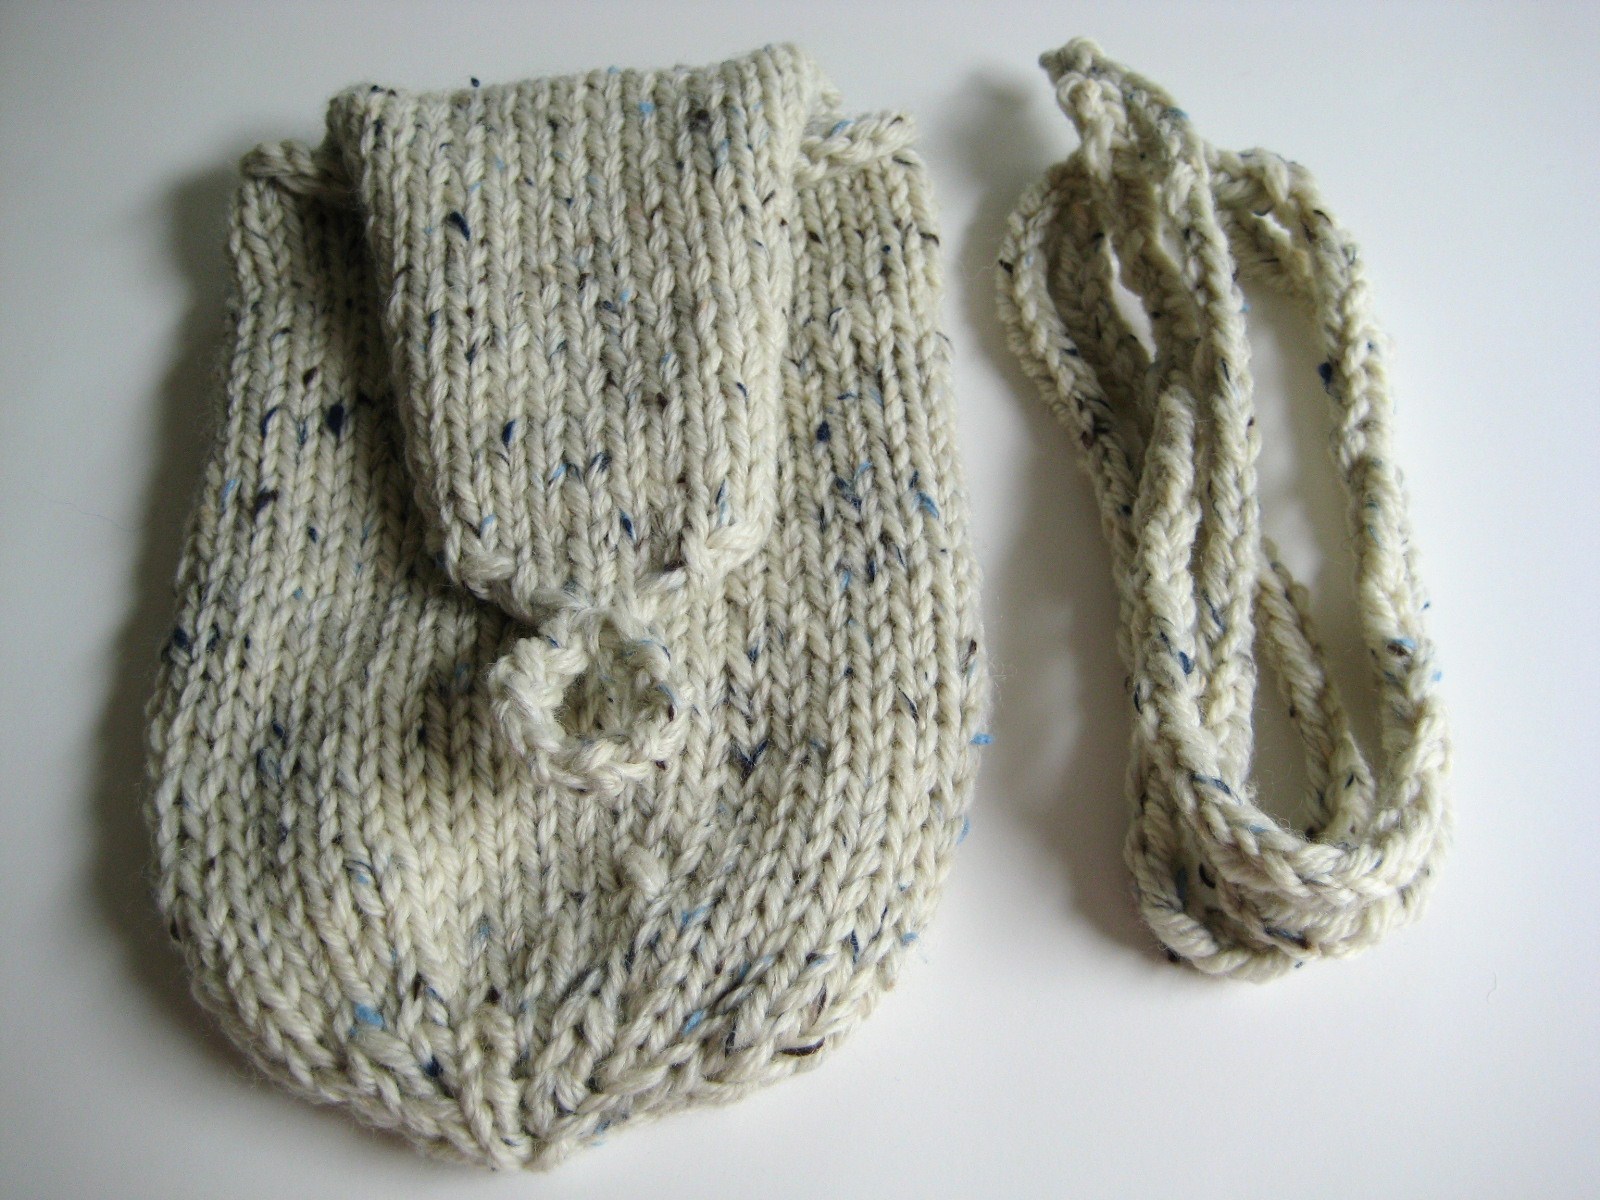
With my tutorial you can knit this...
I had fun creating this tutorial, even though it was more work than I expected. Craft Gossip.com featured it. And, I have it up on Ravelry as my one and only design. Three Ravelers have actually chosen it as a project which I think is a hoot! I'm soon going to have a page on my blog for the pattern alone.
Any tutorials to share? Anyone know of other places on the web to share your creativity?
I'm sure there is a ton of fiber creativity over at Wonder Why Gals. See you there!
Happy Tutoring!
Showing posts with label felted bag. Show all posts
Friday, May 7, 2010
Friday, February 19, 2010
Hand Felted, Needle Felted and Ready to Go!: My Mini Bag Unveiled
By
Allison
Ta Da! It's kinda cute, if I do say so myself. With a smart white vintage button and a bit of needle felting on the flap, my hand felted plum mini bag is finished.
Want one of your own? The free pattern is here. The hand felting process is here.
Visit other fiber adventures this Fiber Arts Friday at Wonder Why Gal's!
Happy Fiber Arting.
Want one of your own? The free pattern is here. The hand felting process is here.
Visit other fiber adventures this Fiber Arts Friday at Wonder Why Gal's!
Happy Fiber Arting.
Wednesday, February 17, 2010
My Hand Felted Mini Bag
By
Allison
Mop in hand. Rubber gloves on. I have finished hand felting my knit mini bag. These are the tools of the intrepid by hand felter: bucket, mop, rubber gloves, soap and kettle.
I used the hottest water possible boiled in my electric kettle. It's steamy!
After 30 minutes of smashing and mashing my knitting with the mop when the water was too cold, and rubbing my knitting between my rubber gloves when the water reached a bearable temperature, here is the result.
There was still too much stitch definition for my liking. More hot water in the bucket and another 30 minutes of an upper body work out made for a better felted piece of knitting. My result after one hour and then shocking my knitting in cold water (as if boiling water was not shocking enough!).
To shape my bag, a can of pineapple does the job.
On the rack to dry! I'll take the can out to let the inside dry, once the outside feels dry to the touch.
In the meantime, I'm going to choose a button for my bag and plan a needle felted design for the flap!
You can find the free pattern for this bag here on my blog. See it on Ravelry.
A note about using the mop. New mops will shed fiber into your felting. My mop was used (and clean) and did not shed into my felting. I've seen some hand felters use plungers instead. You should use a new one of those...
Happy felting!
I used the hottest water possible boiled in my electric kettle. It's steamy!
After 30 minutes of smashing and mashing my knitting with the mop when the water was too cold, and rubbing my knitting between my rubber gloves when the water reached a bearable temperature, here is the result.
There was still too much stitch definition for my liking. More hot water in the bucket and another 30 minutes of an upper body work out made for a better felted piece of knitting. My result after one hour and then shocking my knitting in cold water (as if boiling water was not shocking enough!).
To shape my bag, a can of pineapple does the job.
On the rack to dry! I'll take the can out to let the inside dry, once the outside feels dry to the touch.
In the meantime, I'm going to choose a button for my bag and plan a needle felted design for the flap!
You can find the free pattern for this bag here on my blog. See it on Ravelry.
A note about using the mop. New mops will shed fiber into your felting. My mop was used (and clean) and did not shed into my felting. I've seen some hand felters use plungers instead. You should use a new one of those...
Happy felting!